このブログをご覧のみなさん、こんにちは。
今回は Visual Studio Team Services の始め方です。
必要なもの
- Microsoft アカウント。ない場合は無料で作成できるので、作成してください。
Visual Studio Team Services を使うまでの手順
Agile, Git, CI | Visual Studio Team Services にアクセスし、[Get Started for Free] をクリックします。
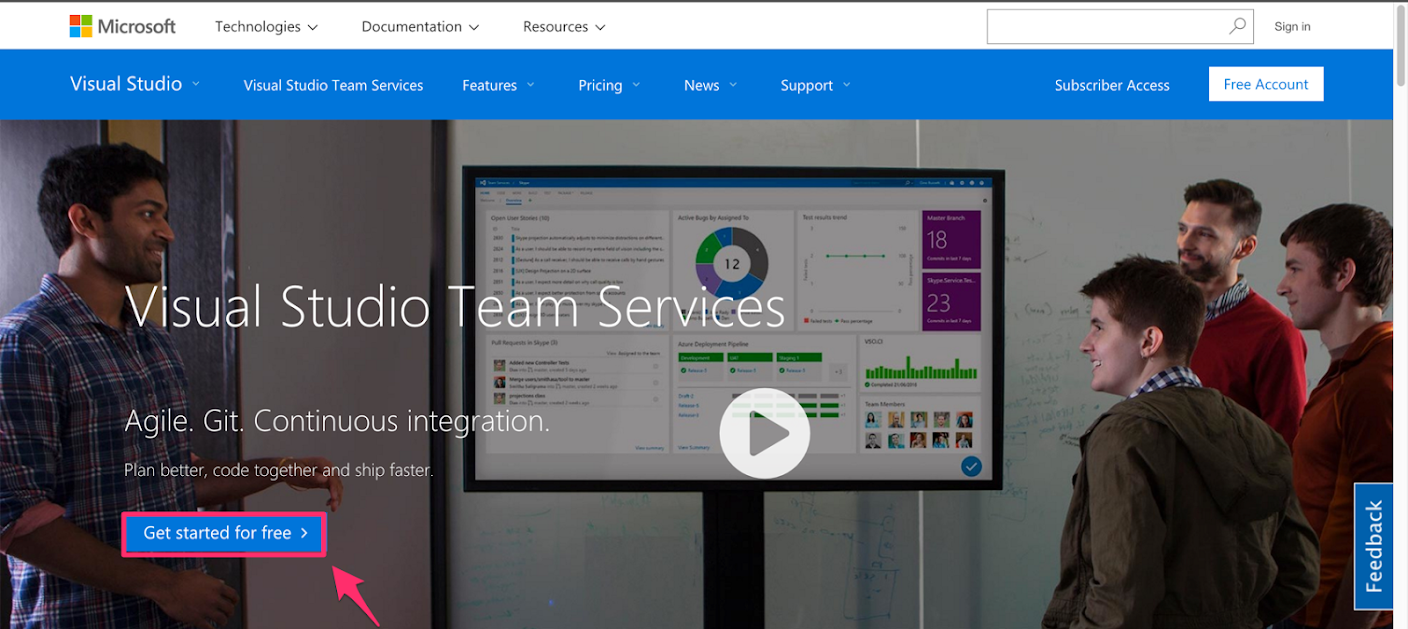
Visual Studio Team Services
クリックすると、以下の Microsoft アカウントの認証画面になるので、ご自身のアカウント入力後、[続行] をクリックします。
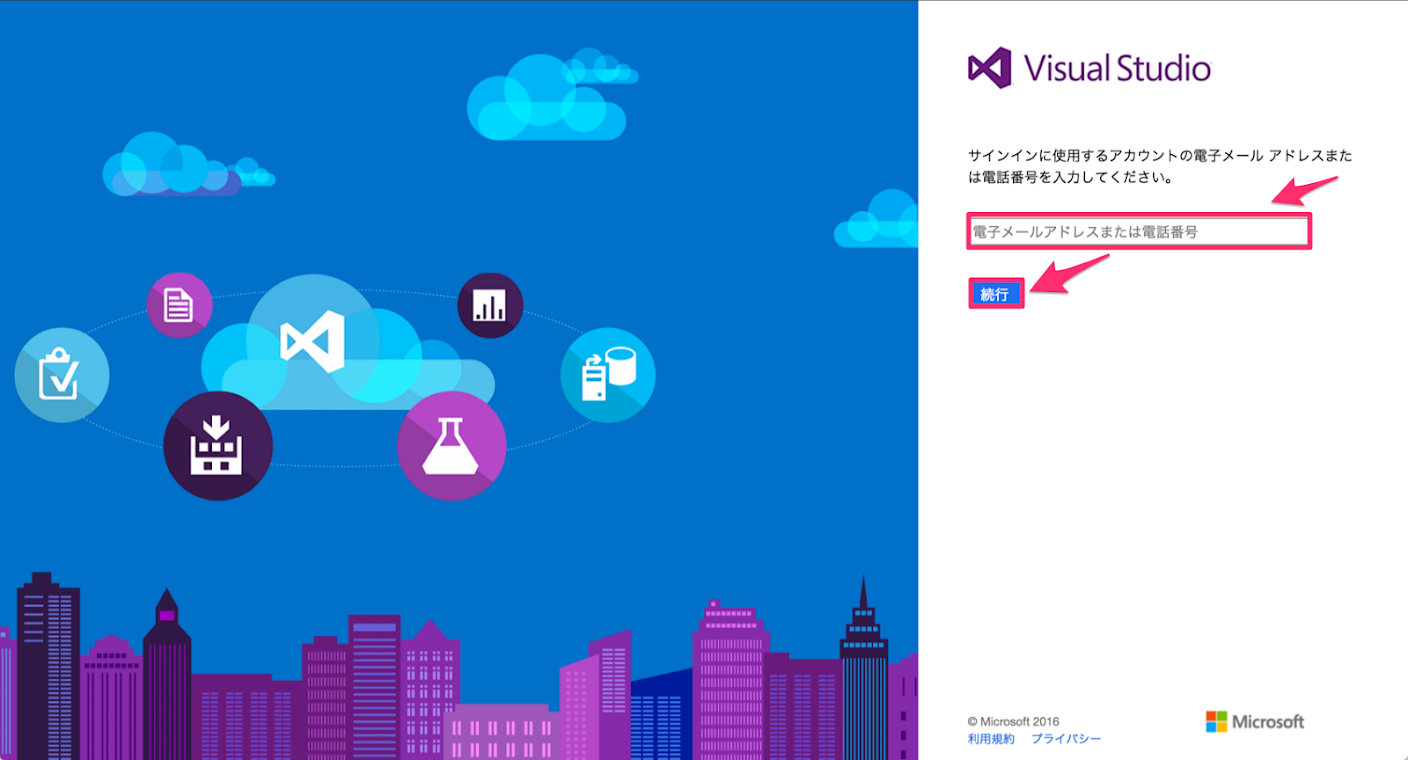
Microsoft アカウントによるログイン
ログインできると、以下の画面になるので、[Create new account] をクリックします。
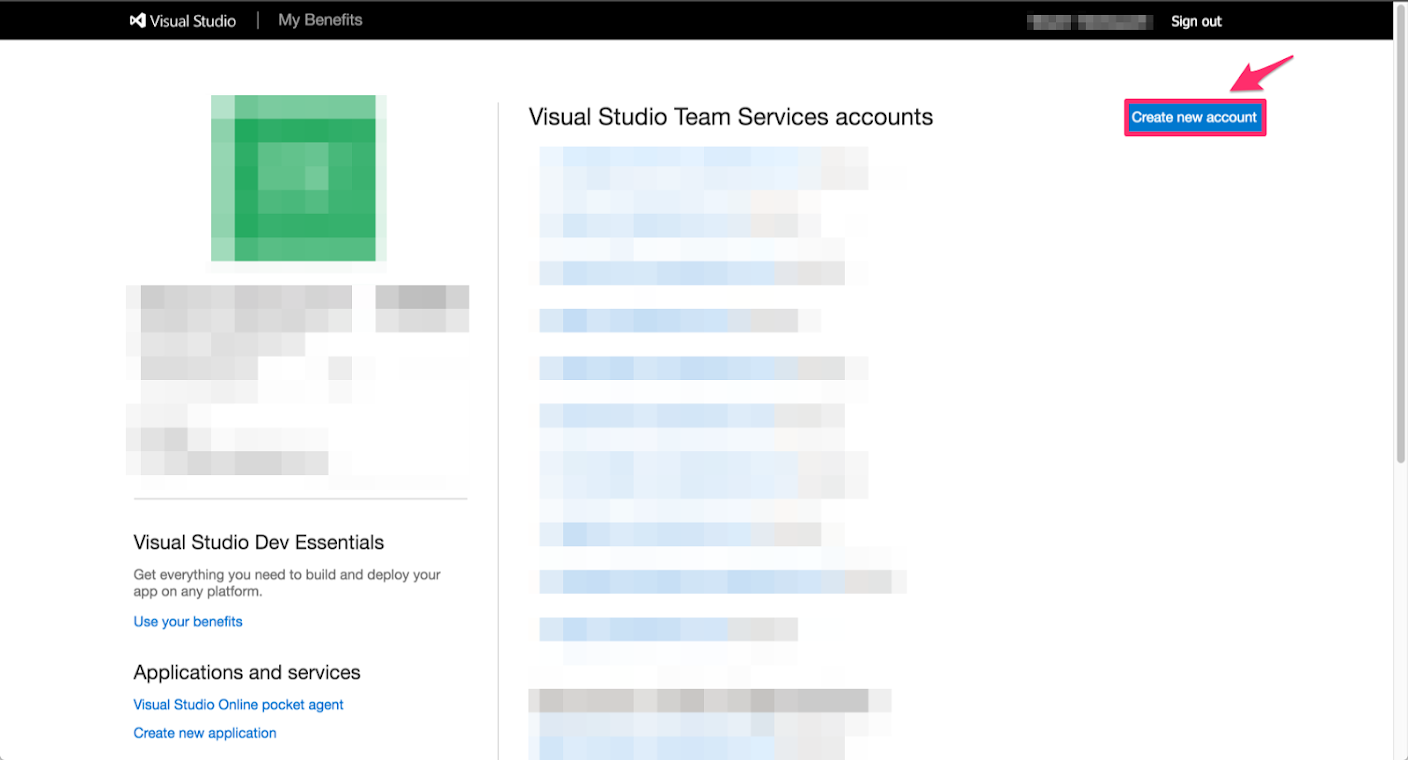
Visual Studio Team Services Account
クリックすると、以下の画面になるので、それぞれの項目に入力後、[Continue] をクリックします。
- Pick a memorable name : アクセスする際の URL になります
- Manage code using : 使いたい VCS(Version Control System) で、Git, Team Foundation Version Control から選択できます。
- Project name : プロジェクト名になります
- Organize work using : 使いたいテンプレートで、Agile, Scrum, CMMI から選択できます。
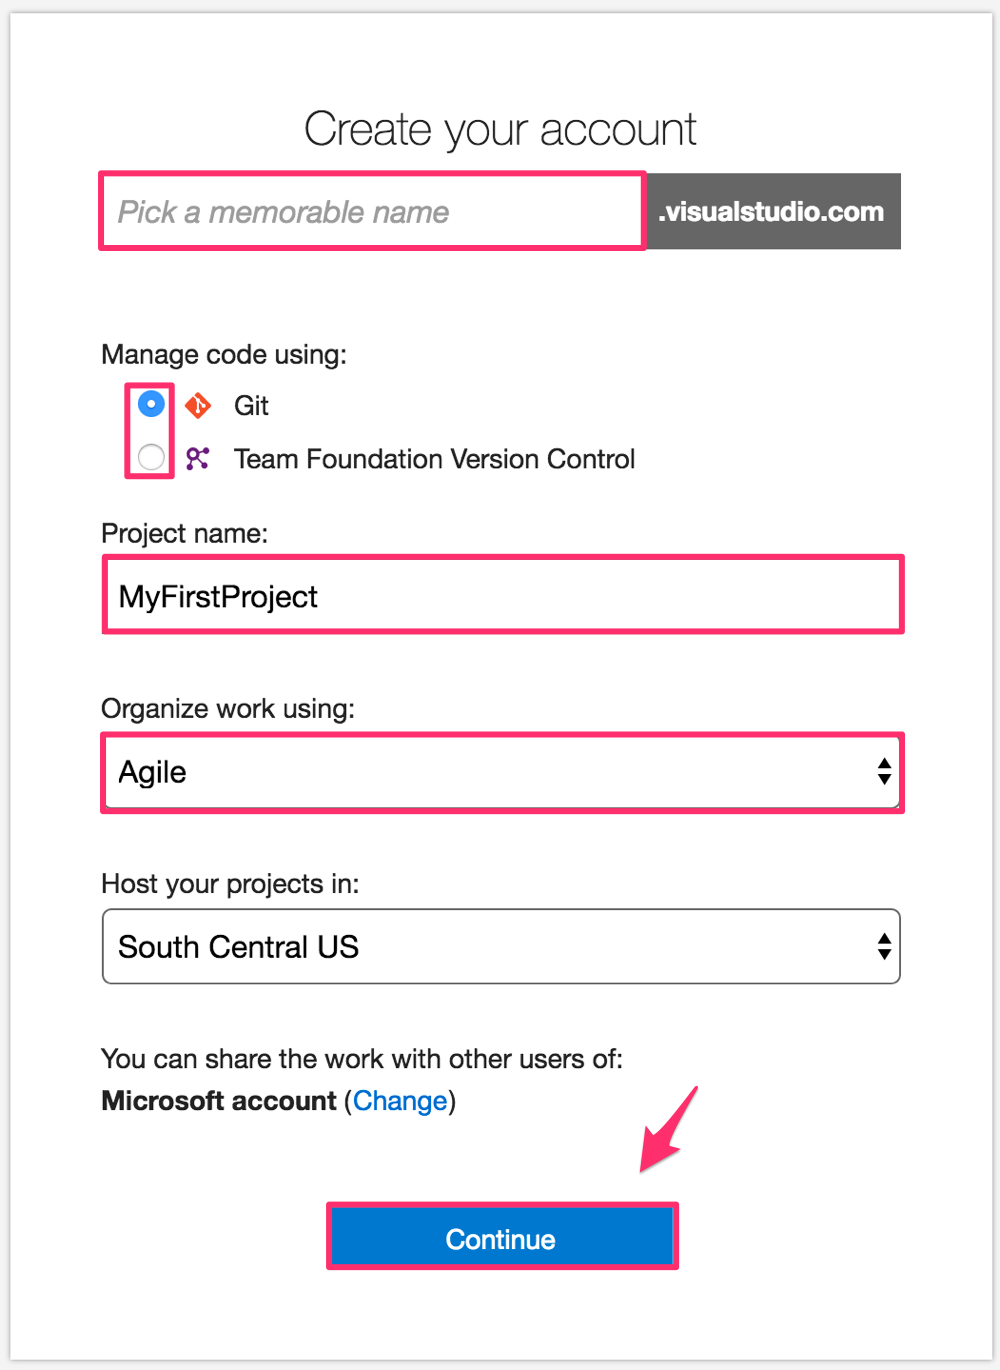
Create your account and project
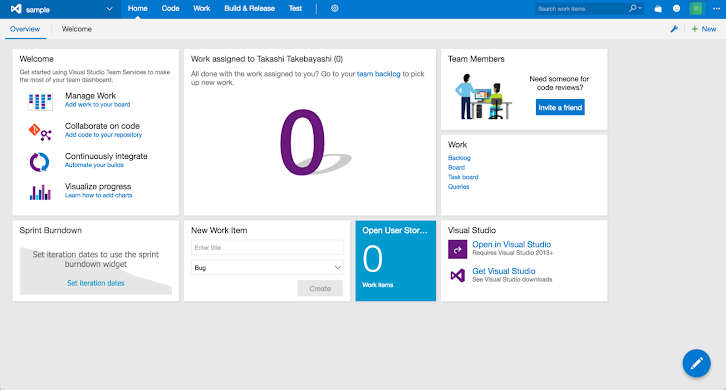
すると、以下のようにVisual Studio Team Services のプロジェクトが作成されます。